
Hello, and welcome to the HyperShock build log! Believe it or not, we do actually think about things sometimes. This is the first of what will hopefully be many build logs. This time we’ll be going over how the front end has changed since season 4, what we learned from varying degrees of failure, and what we decided to do for Season 6.
Season 4 - 2019
- The Season 4 wedge was the most successful front-end we’ve put on a HyperShock, but it was a nightmare to install. For Season 3, we’d designed a massive anti-horizontal wedge, but it weighed almost 50lbs and we didn’t get the opportunity to have to figure it out at competition.
- The season 4 wedge had 12 pairs of holes for bolts and nuts to be mounted, but I don’t think we ever got more than maybe 9 installed. Turns out getting multiple pieces of AR to align after bending some of them and all the welding is quite difficult. Part of the problem was access: we had to float the screws in on the end of a ratcheting tool because it was too tight to get any hands in. Similar problem with the nuts, but we kinda managed with a bit of grumbling. Bigger issue was after a fight, when the bolts were half-sheared or bent, we had to grind some of them out or chisel them apart.
- When the wedge took damage, the bolts would fail one at a time, zippering off one side, leaving the wedge hanging off the robot and making driving more difficult. We had been too ambitious with the bends too, and the fit was preloading the fasteners so much that they’d sometimes get damaged during installation.

[Season 4 wedge, back view]
- We experimented with using 6 long steel pins instead of 12 bolts at Robot Rukus that year and truly made the situation much worse. The pins were just long enough that they grazed the bent part of the wedge going in, so we had to lever them through the first hole. Once we had usually just 4 pins in, we’d bruise our knuckles jamming the cotter pins through the other end. Adding more straw to the camel, the pins weren’t very hard, so they all got bent in every match, making it just about impossible to remove the wedge without cutting/breaking the pins.
Season 5 - 2020

[Season 5 front armor mount shown as-installed (highlighted)]
- Season 5 we decided to try mounting the wedge from the front and making the mounts universal. We designed both our front ends (pictured below) to fit the same way. We had started by designing the system for carriage bolts after deciding that countersinking into just a quarter inch of material would be a mistake. While looking for the toughest carriage bolts on the market, we came across plow bolts, they’re like carriage bolts, but with a countersunk and keyed head rather than a dome. It was appealing to have a solution that didn’t protrude from the wedge; wouldn’t want tombstone or valkyrie to find a grab point after all. We were back to dealing with countersunk holes, but the engagement surface was smaller than we’d seen on any traditional flat heads.
- We designed these delrin mounting blocks with square holes to retain the keying features of the plow bolts. We used 6 bolts and nuts one each mount block and attached it to the robot chassis at about a 30 degree angle to decrease the shear force on the bolts.
- The design intent was one person could install either front end. The wedge was designed such that the mounts could be balanced and pinned with the robot upside down with the wedge already attached. The shields had mounts attached all the time and could be swapped out by one person in under 5 minutes. The design ethos for the entirety of season 5 was focused on turning the robot around in 15 minutes after the near-disasters season 4 with its 2 hour drive train assembly.

[Season 5 chassis, front iso view]
- We ran into problems immediately. S5 was probably the most rushed build and maybe the least ready upon arrival. Didn’t help that the actual robot showed up a day and a half late due to shipping shenanigans. When we went to fit the wedge for pictures and hero shots, it was slightly over-bent, so only some of the holes through the front of the wedge actually aligned. The chassis was also a little splayed out, further interfering with the mounting angles. We borrowed a cast iron sash clamp from End Game and forced the chassis into compliance. Managed to get 4 bolts installed per side and kinda faked the other 2 well enough.

[Season 5 robot]
- The mounting held up ok for a few fights, and then End Game sheared one off. We weren’t sure if it was the internal sharp corners or just the massive hit we’d taken, not that we had an alternative solution. We also didn’t notice until later that they’d bent that side of the chassis enough to lift the front wheels off the ground. We started to see more cracks in the mounts as we went through fights and concluded the geometry was wrong.

[Damaged front armor mount]
- We hadn’t faced a large horizontal and thus hadn’t needed the full wedge yet, but we were in the Icewave bounty, so we started prepping it and a chassis for it. The highlight-only fight with Sporkinok is when we realized one of the chassis was ruined, but the other had a wedge poorly attached, so swapping wasn’t an option. 3 teammates spent 2 days exclusively messing with a chassis (one of 3) to make sure we had a wedge+single disc option for Icewave. For better or worse, we were eliminated before that wedge saw a fight.
- We discovered partway through the bounties that neither of the ‘clean’ chassis were really that well aligned, so the wedge would have to be ground down flat after installing it. Wasn’t intended to be ground scraping, but one edge always was anyway.

[Season 5 robot, sideview]
Season 6 - 2021
- We started designing for season 6 with no specific front end plan. We knew we had to make something ground scraping and needed to make it somewhat adjustable. The common theme up until this point had been difficulty with mounting hardware; we just never really though that part through.
- We had been talking to a potential machining sponsor who wanted to show off their ability to make large, complex parts with lots of internal features. Seemed pretty perfect, we love challenging our machinists with “it works in CAD!” What we liked about S5 was the large module system. The guts of the robot was a removable unit, good in concept, but required a 4 person operation to install into the robot. We liked that the wedge and weapon system were also independent modules that could be prepped 98% on a bench.
- We started brainstorming this massive front end billet so the entire weapon and wedge assembly could be worked on separately from the rest of the chassis. Idea being we could have 3 or 4 of these ready to go and swap a highly damaged front end out and turn the robot around in half an hour. For better or worse, that company decided they didn’t want to commit resources to a sponsorship, forcing us to revise the front end design intent.
- We decided to take most of the features from the mega-billet and just integrate them into the chassis or at least their mounting. We separated the weapon motors from the rest of the chassis so they could be installed without having to feed anything through a slot or otherwise contort our hands inside the ever-shrinking chassis. We took the robust, box-like front corners from the S4 chassis and separated them from the weapon mount.

[Season 6 chassis, shown with top plate, front view]
- We had come to the conclusion that one of the things holding us back was how anemic our weapon hits were, mostly since we didn’t have good force transfer from the floor into our opponent. We were basically trying to uppercut someone while standing on a trampoline, wasting force mashing our tires into the floor. We’d been trying to improve on this since season 3, but hadn’t quite gotten it right. Our solution was to have a continuous billet from the bottom of the weapon shaft to the floor. Once we started playing with wedge mounting, we decided it should be all one piece. A little further along, we decided we had to give up the weapon axle clamp system we’d used for the prior seasons since there wasn’t a great solution for hardware. We’d had issues every year with the bolts in the clamp eventually stripping, so points against it there. Around this time we decided to start calling them the “Billettes” since they were shrunken versions of what we’d originally planned for.

[Season 6 “Billetes” as-installed, front view. Some hardware supressed]
- These Billettes only needed 8 bolts each to be installed and held the weapon shaft, wedge mounts, and the invertibility horns.Most importantly, we now had a very solid connection between the weapon and the floor.
- The wedge mounts we decided on were as simple as we could get: 4 big suspension bushings with bolts through them. We took the wedge bracket geometry from season 4 and simplified it to make alignment easier. The critical difference this time was having time to weld the wedge up with it installed into the chassis. We also benefited from a simplified sub-structure for the wedge, so there were fewer weldments to go wrong. This version didn’t have any adjustable features, so we knew we’d be grinding the wedge to ground-scrape.
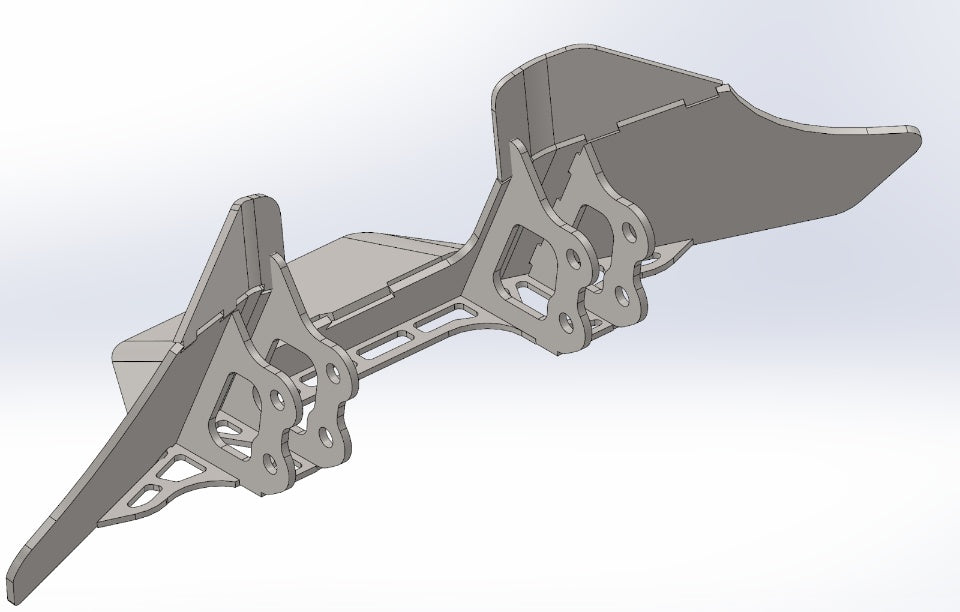
[Season 6 wedge, back view]
- At the last minute, we decided to give in to the prevailing strategy and designed a set of forks. We based them on the somewhat effective arms we had in season 3, but made them much beefier. The original had a 4 part lattice of 3/16” AR500, these new forks were just a single profile in half-inch AR500 held together in pairs with thick standoffs. We slotted the top mounting hole and were careful to not overtighten the bolt so they’d passively ground-scrape. Maybe it was laziness, but we just trusted the Billettes to be rigid enough to use as a plane reference, so we weren’t worried too much about how the forks would naturally settle along the floor.

[Season 6 forks, some hardware surpressed]
- The forks and wedge were held on with nothing more than bolts and lock nuts. We had to get a little clever since we forgot to account for the thickness of the washers and the heads interfered with the weapon path. Fortunately, Hijinx had a lathe and let us use it to turn down the bolt head, fixing that promptly.
- One final consideration for the Billettes was how exposed they were when we were running forks. With the wedge on, they were pretty much covered; anything getting through that wedge was posing bigger problems. We had to make them significantly thicker than we had previously designed the shaft clamps so they could survive some damage if it happened. We’d shifted the weapon position slightly forward since we didn’t have to depend on chassis geometry to support it anymore, so the side of the disks were more exposed than ever before.

[Season 6 partially assembled]
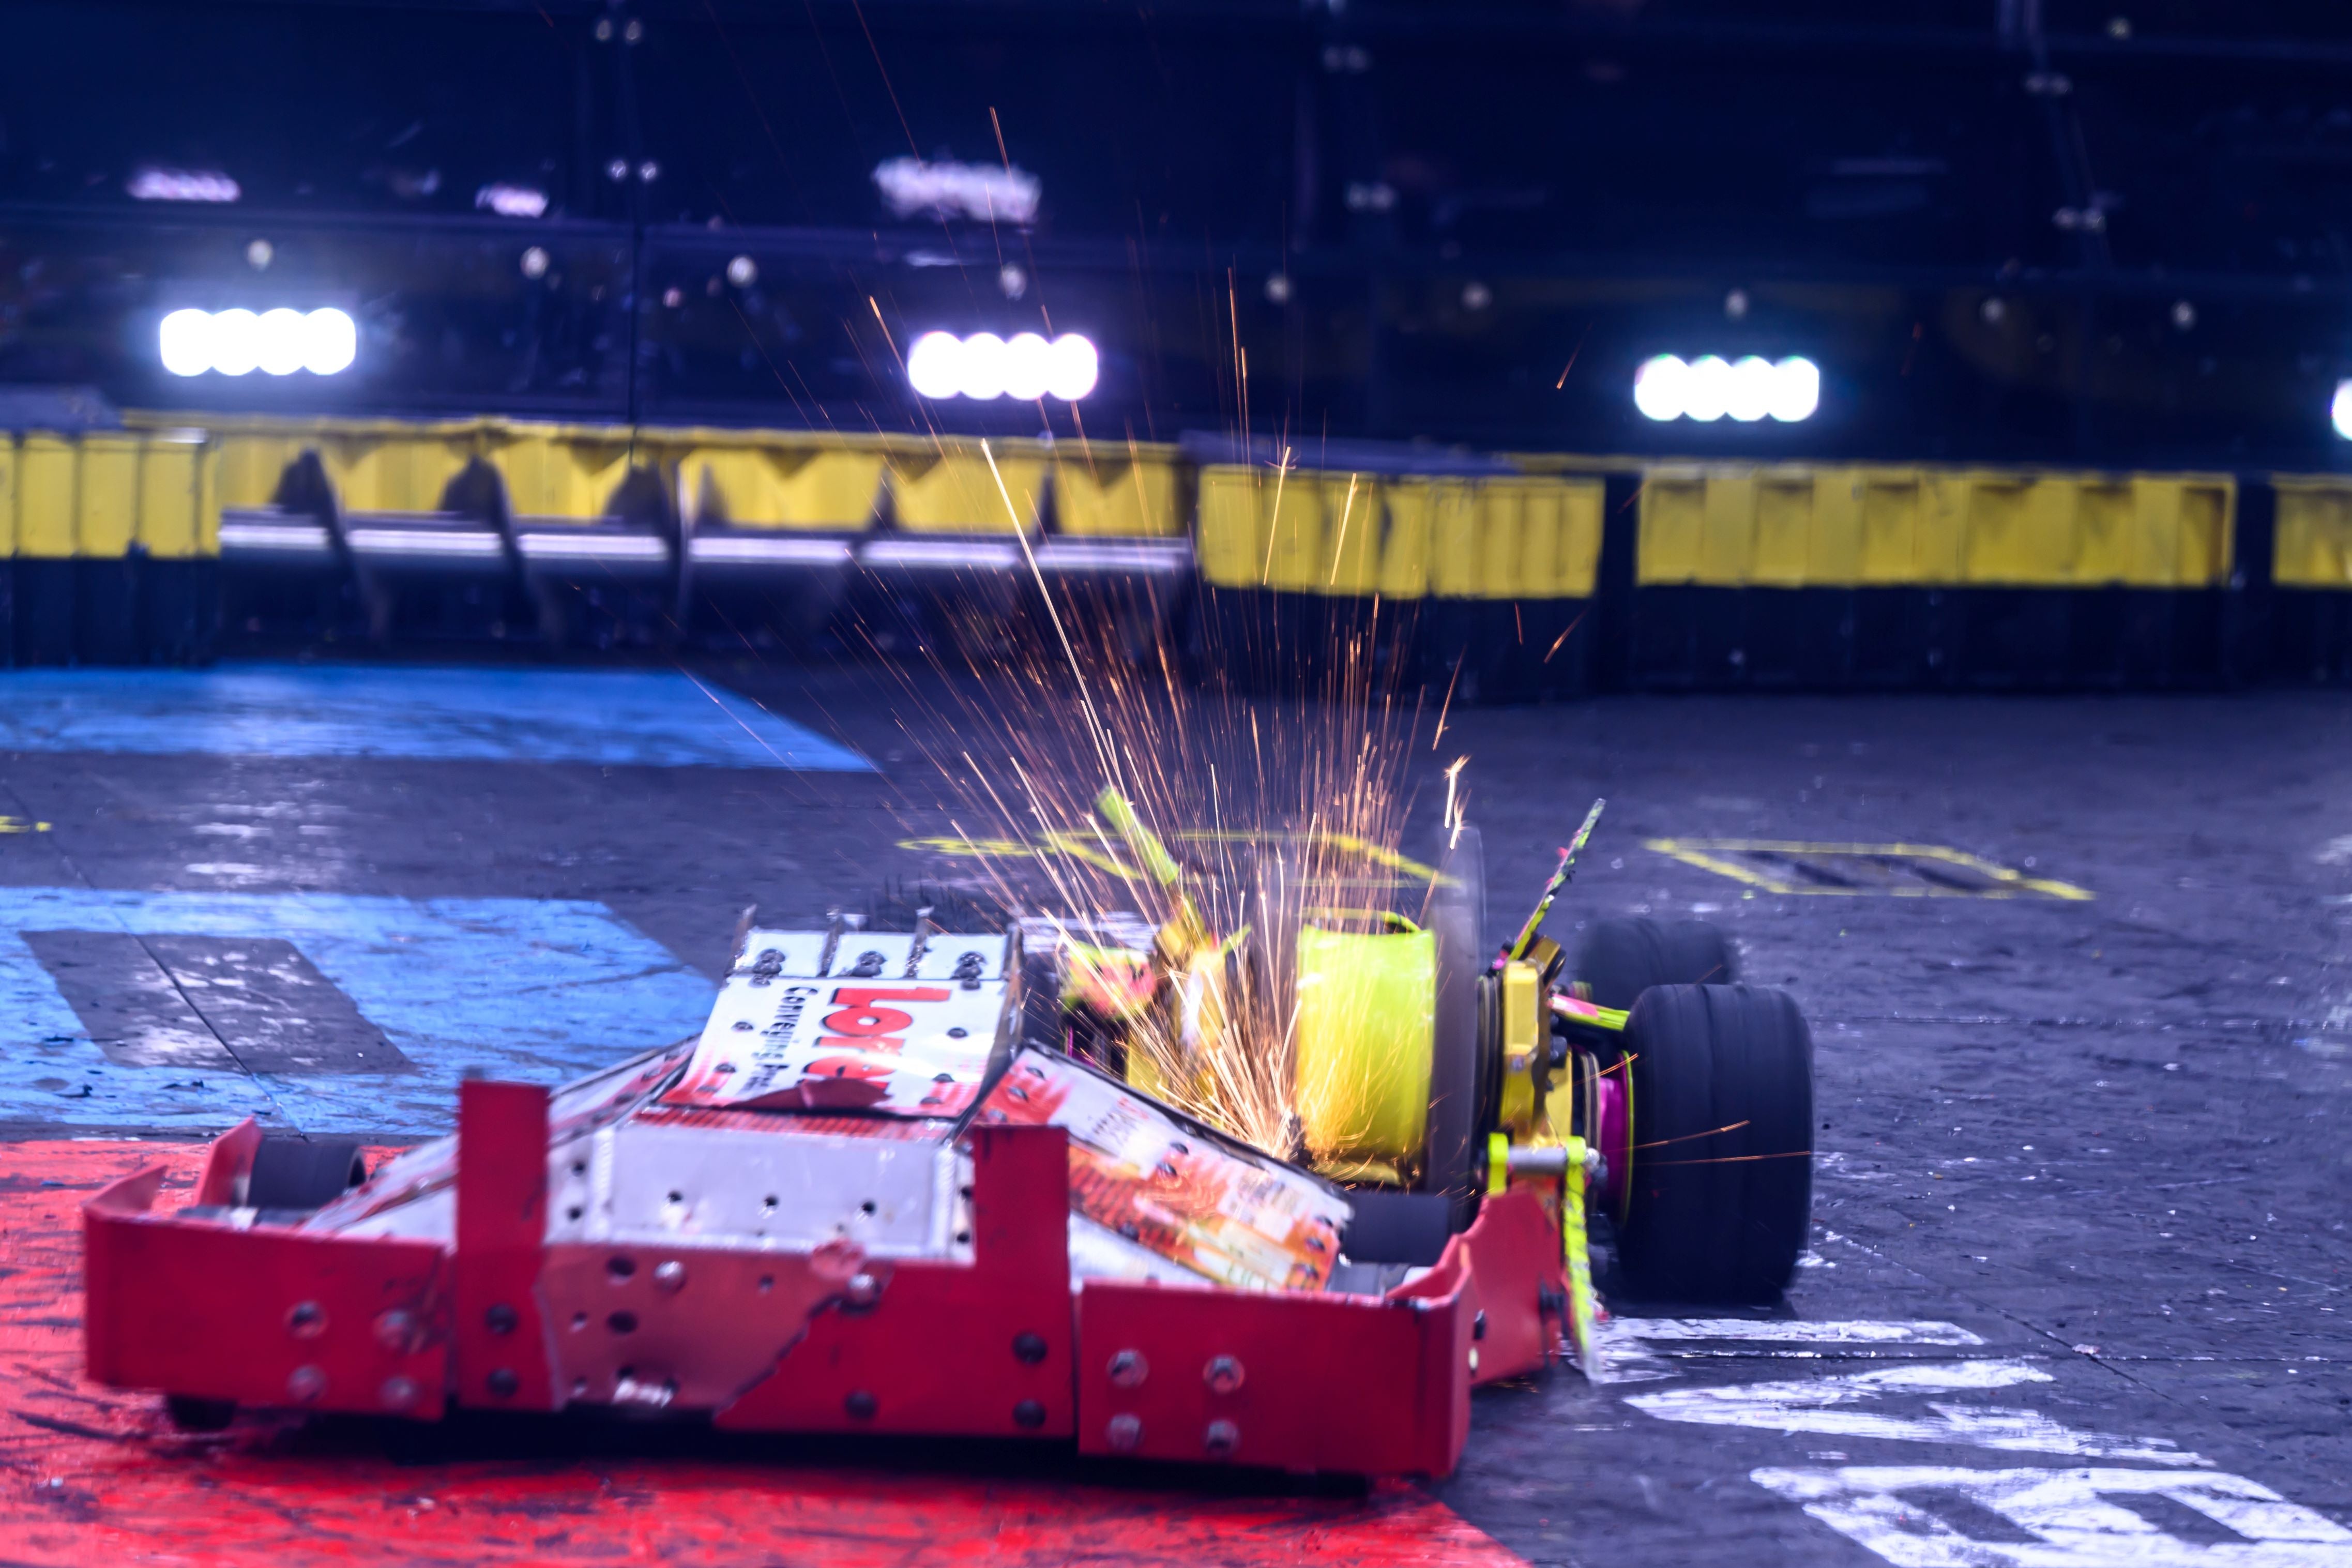
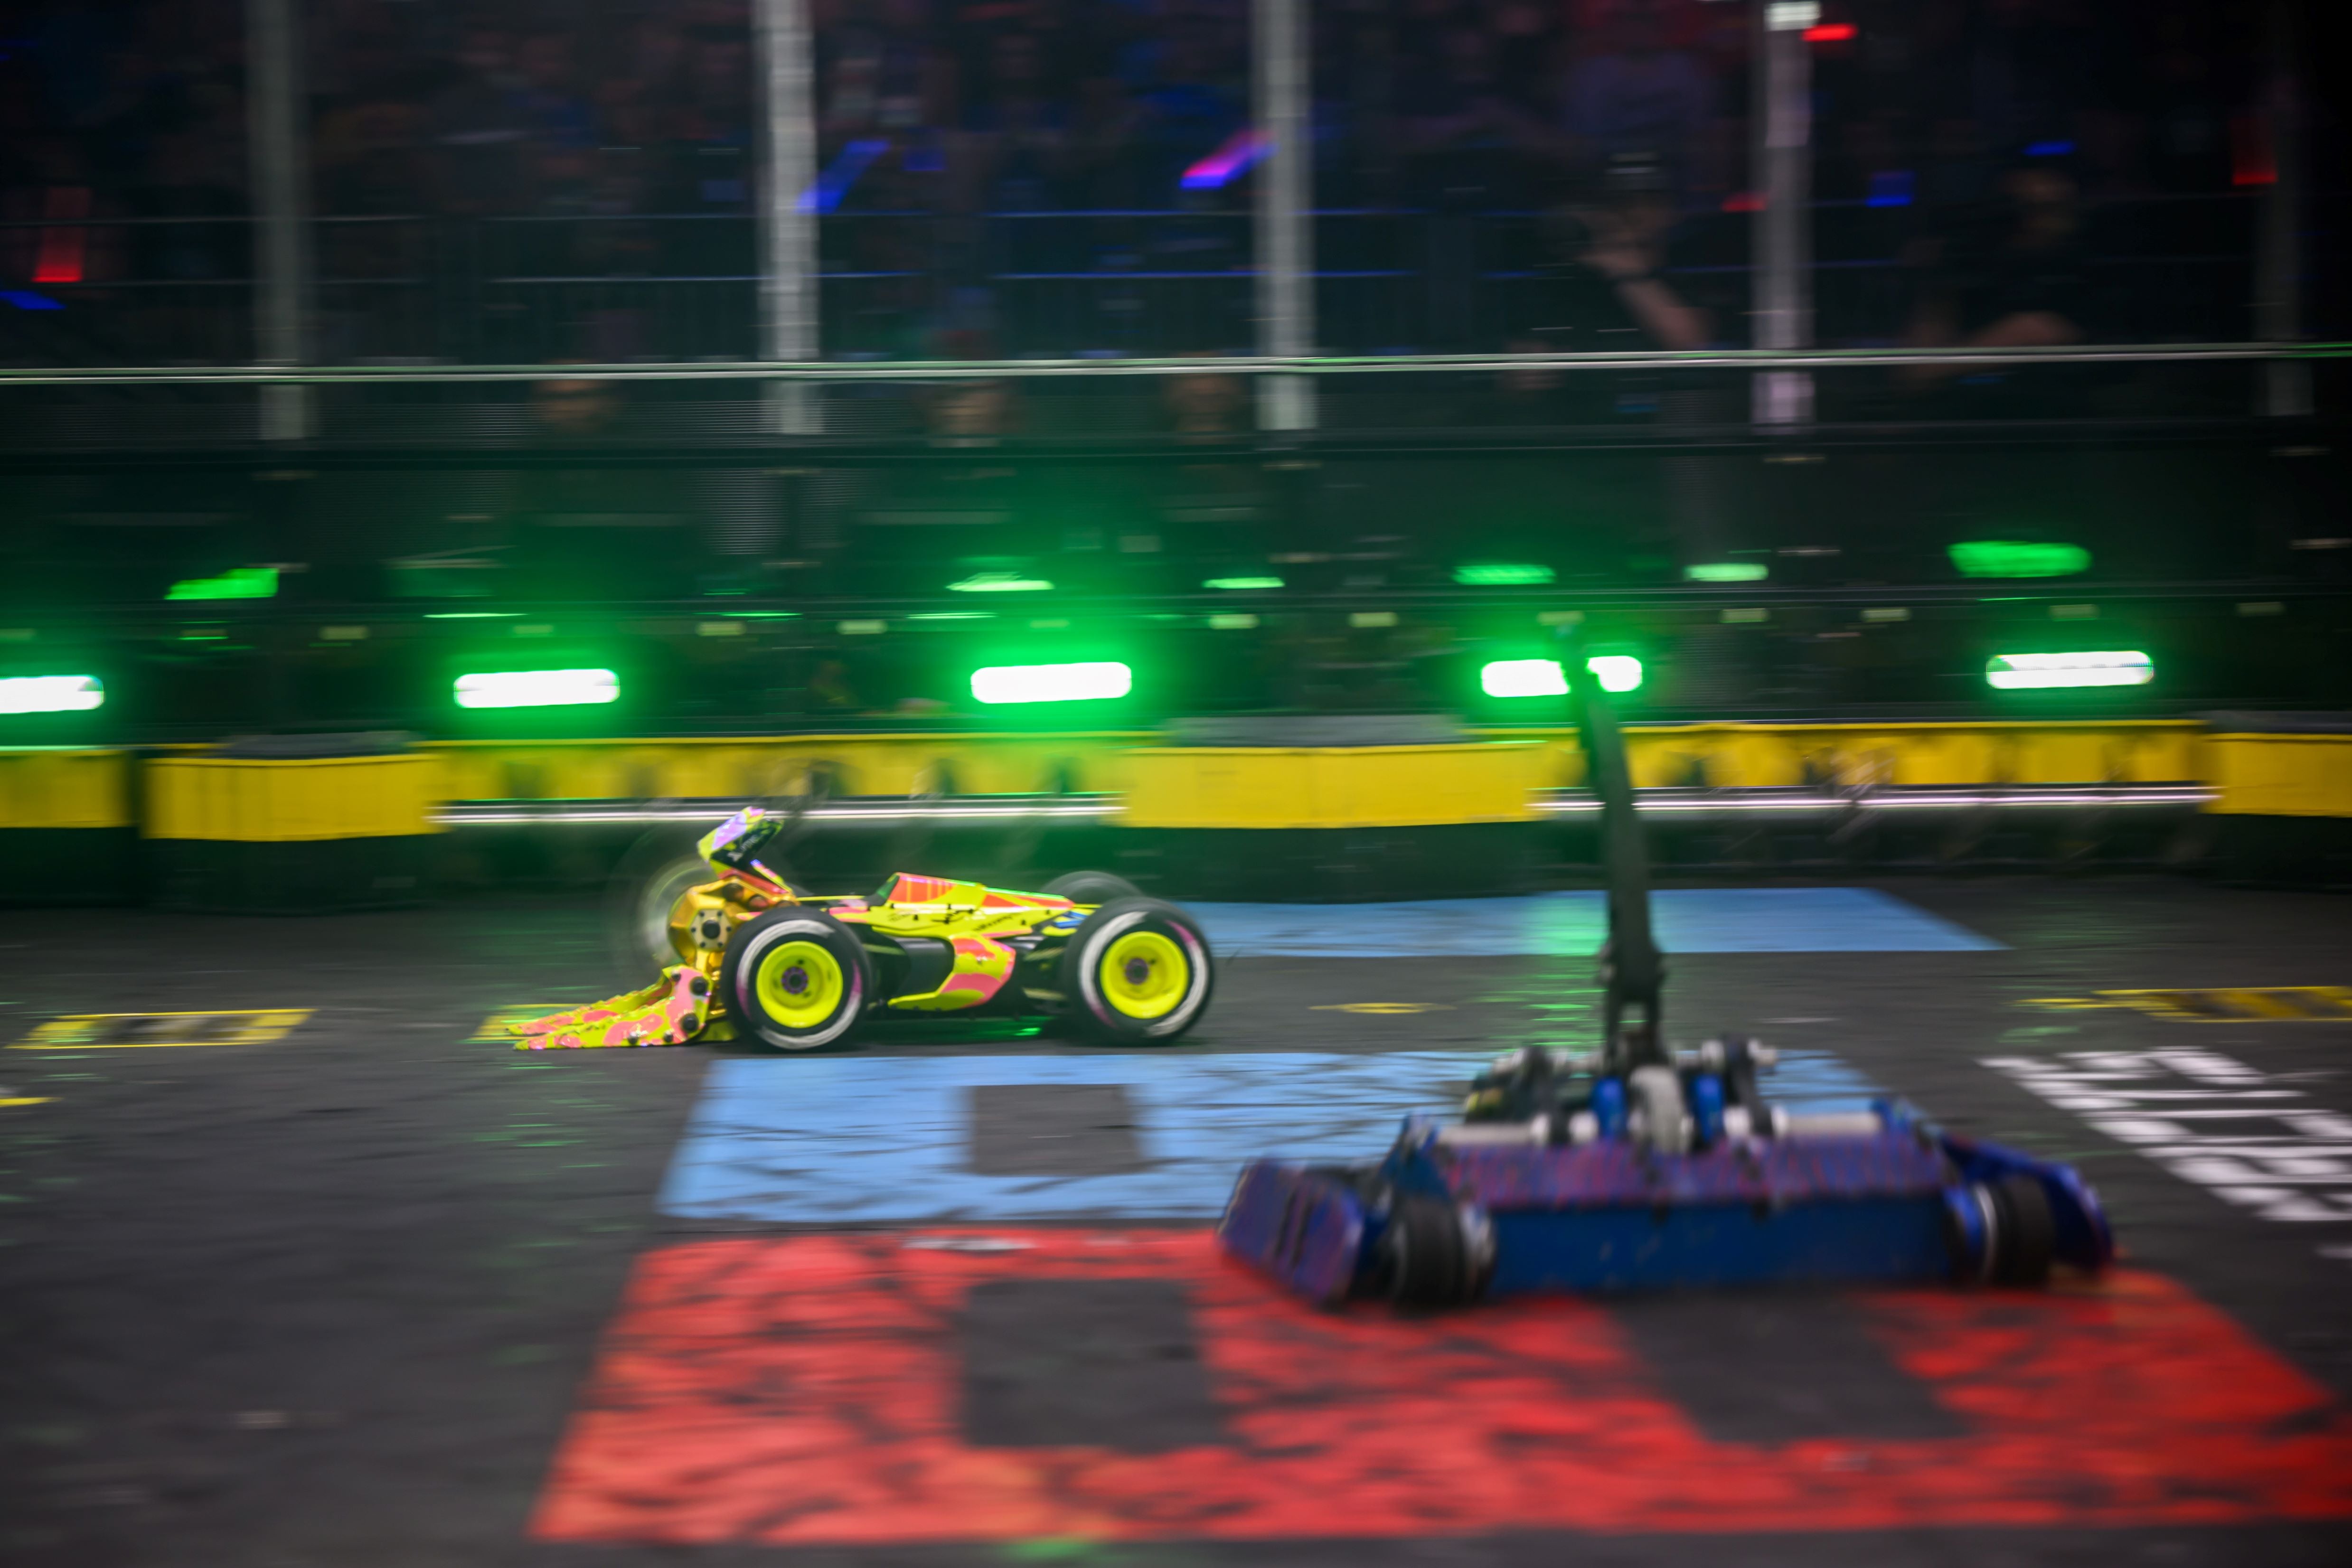
So. Did it all work? You'll just have to watch and find out! BattleBots Season 6 starts airing Thursday January 6th, 2022 at 8pm ET|PT on Discovery and Discovery+ in the US and Canada.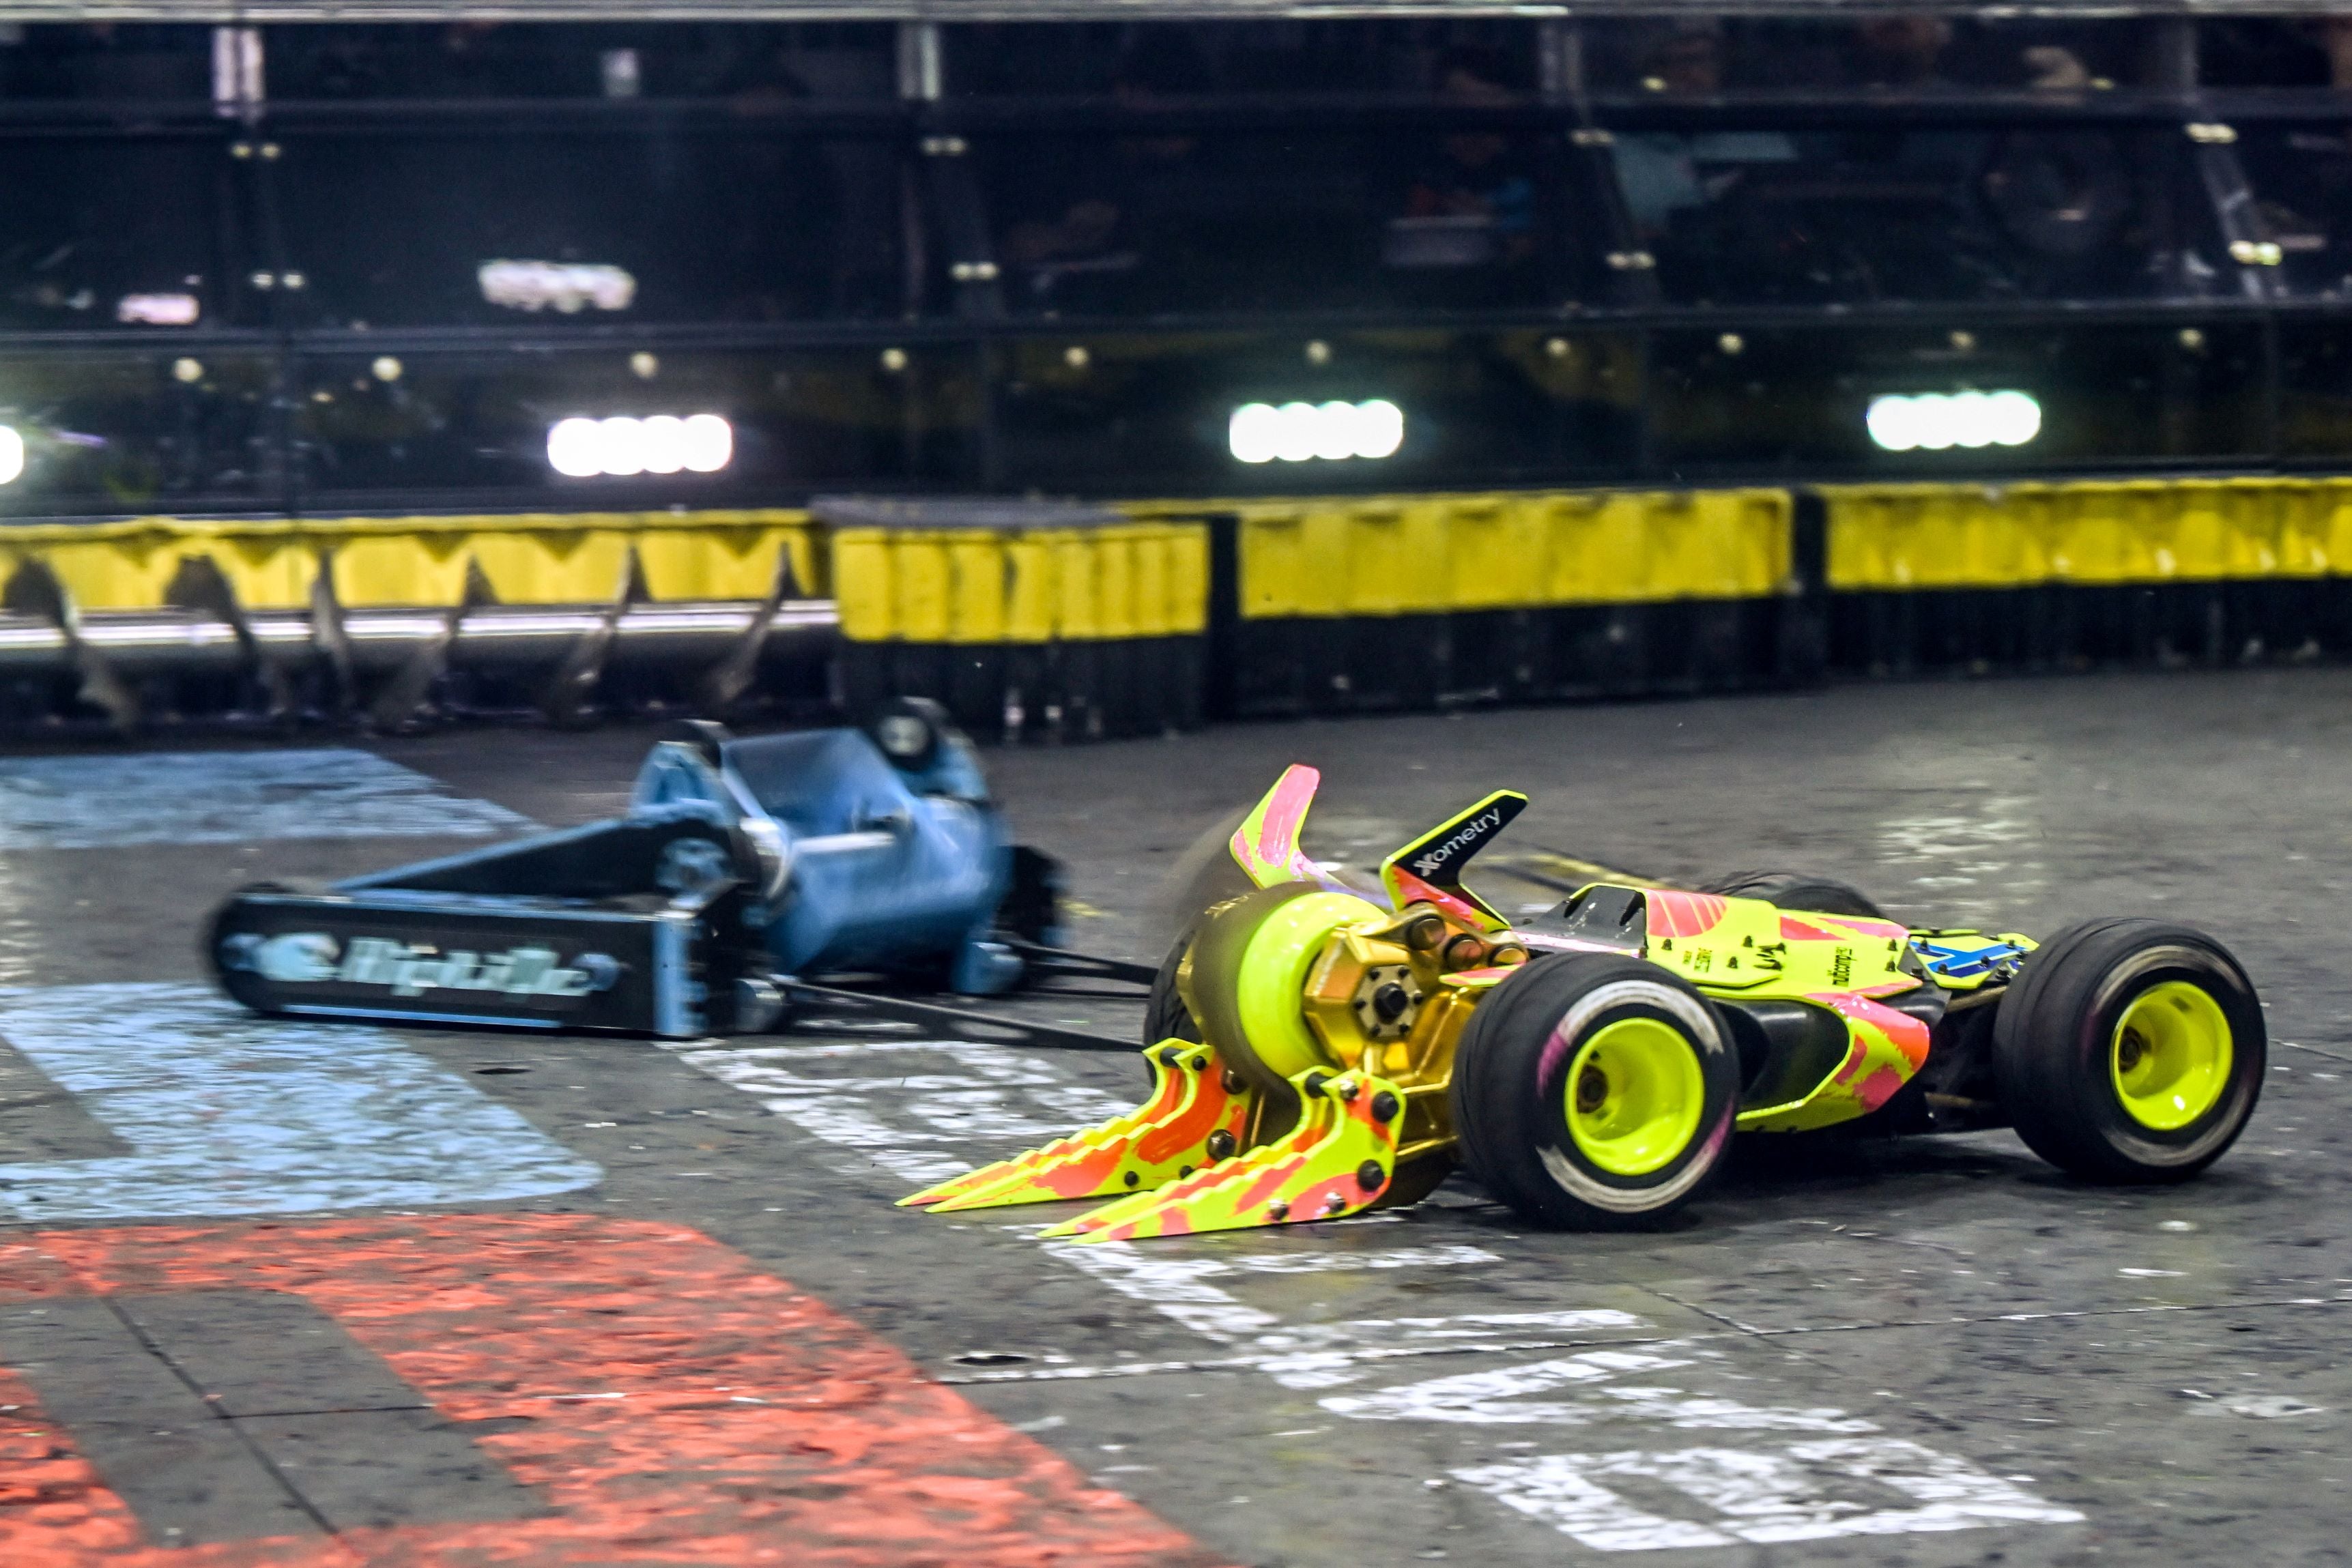
Share:
Double-Disk Weapon | Welcome to Driskworld!