This week we’ll be sharing the armor composition of HyperShock, from both strategic and aesthetic points of view. We’ll start with the top armor, then the sides, and finally the chassis, back, and bottom armor. One of the design prompts all the way back in Season 1 was to design robots that would make cool toys. We’ve taken that to heart and have done our best with each version to blend exciting elements from supercars into the defensive requirements of a combat robot. Though it's sometimes expressed derisively, we take pride in having HyperShock described as a scaled-up RC car (now if we could just get Hexbug to scale it back down…).

[Season 6 ready for hero shots]
Our high-level approach to armor has evolved a little every year. Where we’re currently at is to take advantage of the high surface hardness of AR500, but design around how springy it is. We’ve always known that geometry is stronger than fasteners, but truly getting fasteners out of shear loading has been a challenge. HyperShock's chassis are designed to be strong in compression, especially when we’re bouncing and cartwheeling around. It doesn’t always work out. In Season 5, we had accidentally preloaded the back corners in such a way that even minor hits could bend the rear wheels in, jamming them up. Our general defensive strategy is to use our agility to avoid hits. We keep our massive, soft tires exposed because they can handle several hits before losing functionality. The wheels more or less double as ablative armor. We’ve found we can lose about a third of a tire and keep rolling so long as the inner bead is still engaged to the rim and hub. The last two versions of the robot had axles and hubs designed to tear away from the chassis if they were hit hard enough. When a wheel or axle took a direct hit, we’d be sacrificing that wheel while the rest of the robot continued on rather than the whole robot getting tossed when a wheel gets hit. The Season 6 wheel design continues to support this theory, but the axles and mounts have been changed heavily and will be discussed in their own entry.

[Season 6 top]
Top Armor
For the past few seasons, HyperShock has always had at least two top armor configurations: one light and one heavy. The light one has been a mix of aluminum and titanium whereas the heavy top has been made from AR500. Our top armor has been made from segments to create louvers heavily inspired by Lamborghini engine covers. We think they’re cool and fit our “very Miami” theming well.

[Season 4 top]
Season 4
HyperShock fought Shatter as “Blue” after Season 3 at Robot Rukus and they flattened the AR500 top plate we’d used that year. While the armor maintained enough integrity to keep them out of our internals, we were certain that we needed to use more than some thin spars to support the top armor.
In Season 4 we improved the strength of the top plate by switching to smaller sections of armor to reduce the length of any unsupported section. We bolted the armor to the chassis around the exterior and used an Onyx spacer between the panels and a supportive sub-structure across the middle of the chassis. While this design was very strong against vertical impacts, it put a lot of screws in shear and HUGE managed to tear one of the panels clean off. Season 4 was the last time we used button heads for important armor. Internal drive screws are delicate and become clogged during fights. We wasted too much time and energy trying very hard to avoid stripping them as well as fixing stripped or clogged heads.

[Seaon 5 top]
Season 5
The Season 6 top armor is a simplification of the Season 5 top armor. We start with a strong, single cover plate over the open section of the robot and bolt the aesthetic pieces over it. While we call the yellow cover pieces “aesthetic” they also serve to dampen incoming hits. The Season 5 top armor had to be strong enough to support the srimech by itself, so we made the base panel out of AR500. The aesthetic armor panels are bolted to the top plate and have enough overhang to cover the bolts holding on the side armor.

[Season 6 tops, 3 very different weight configs]
Season 6
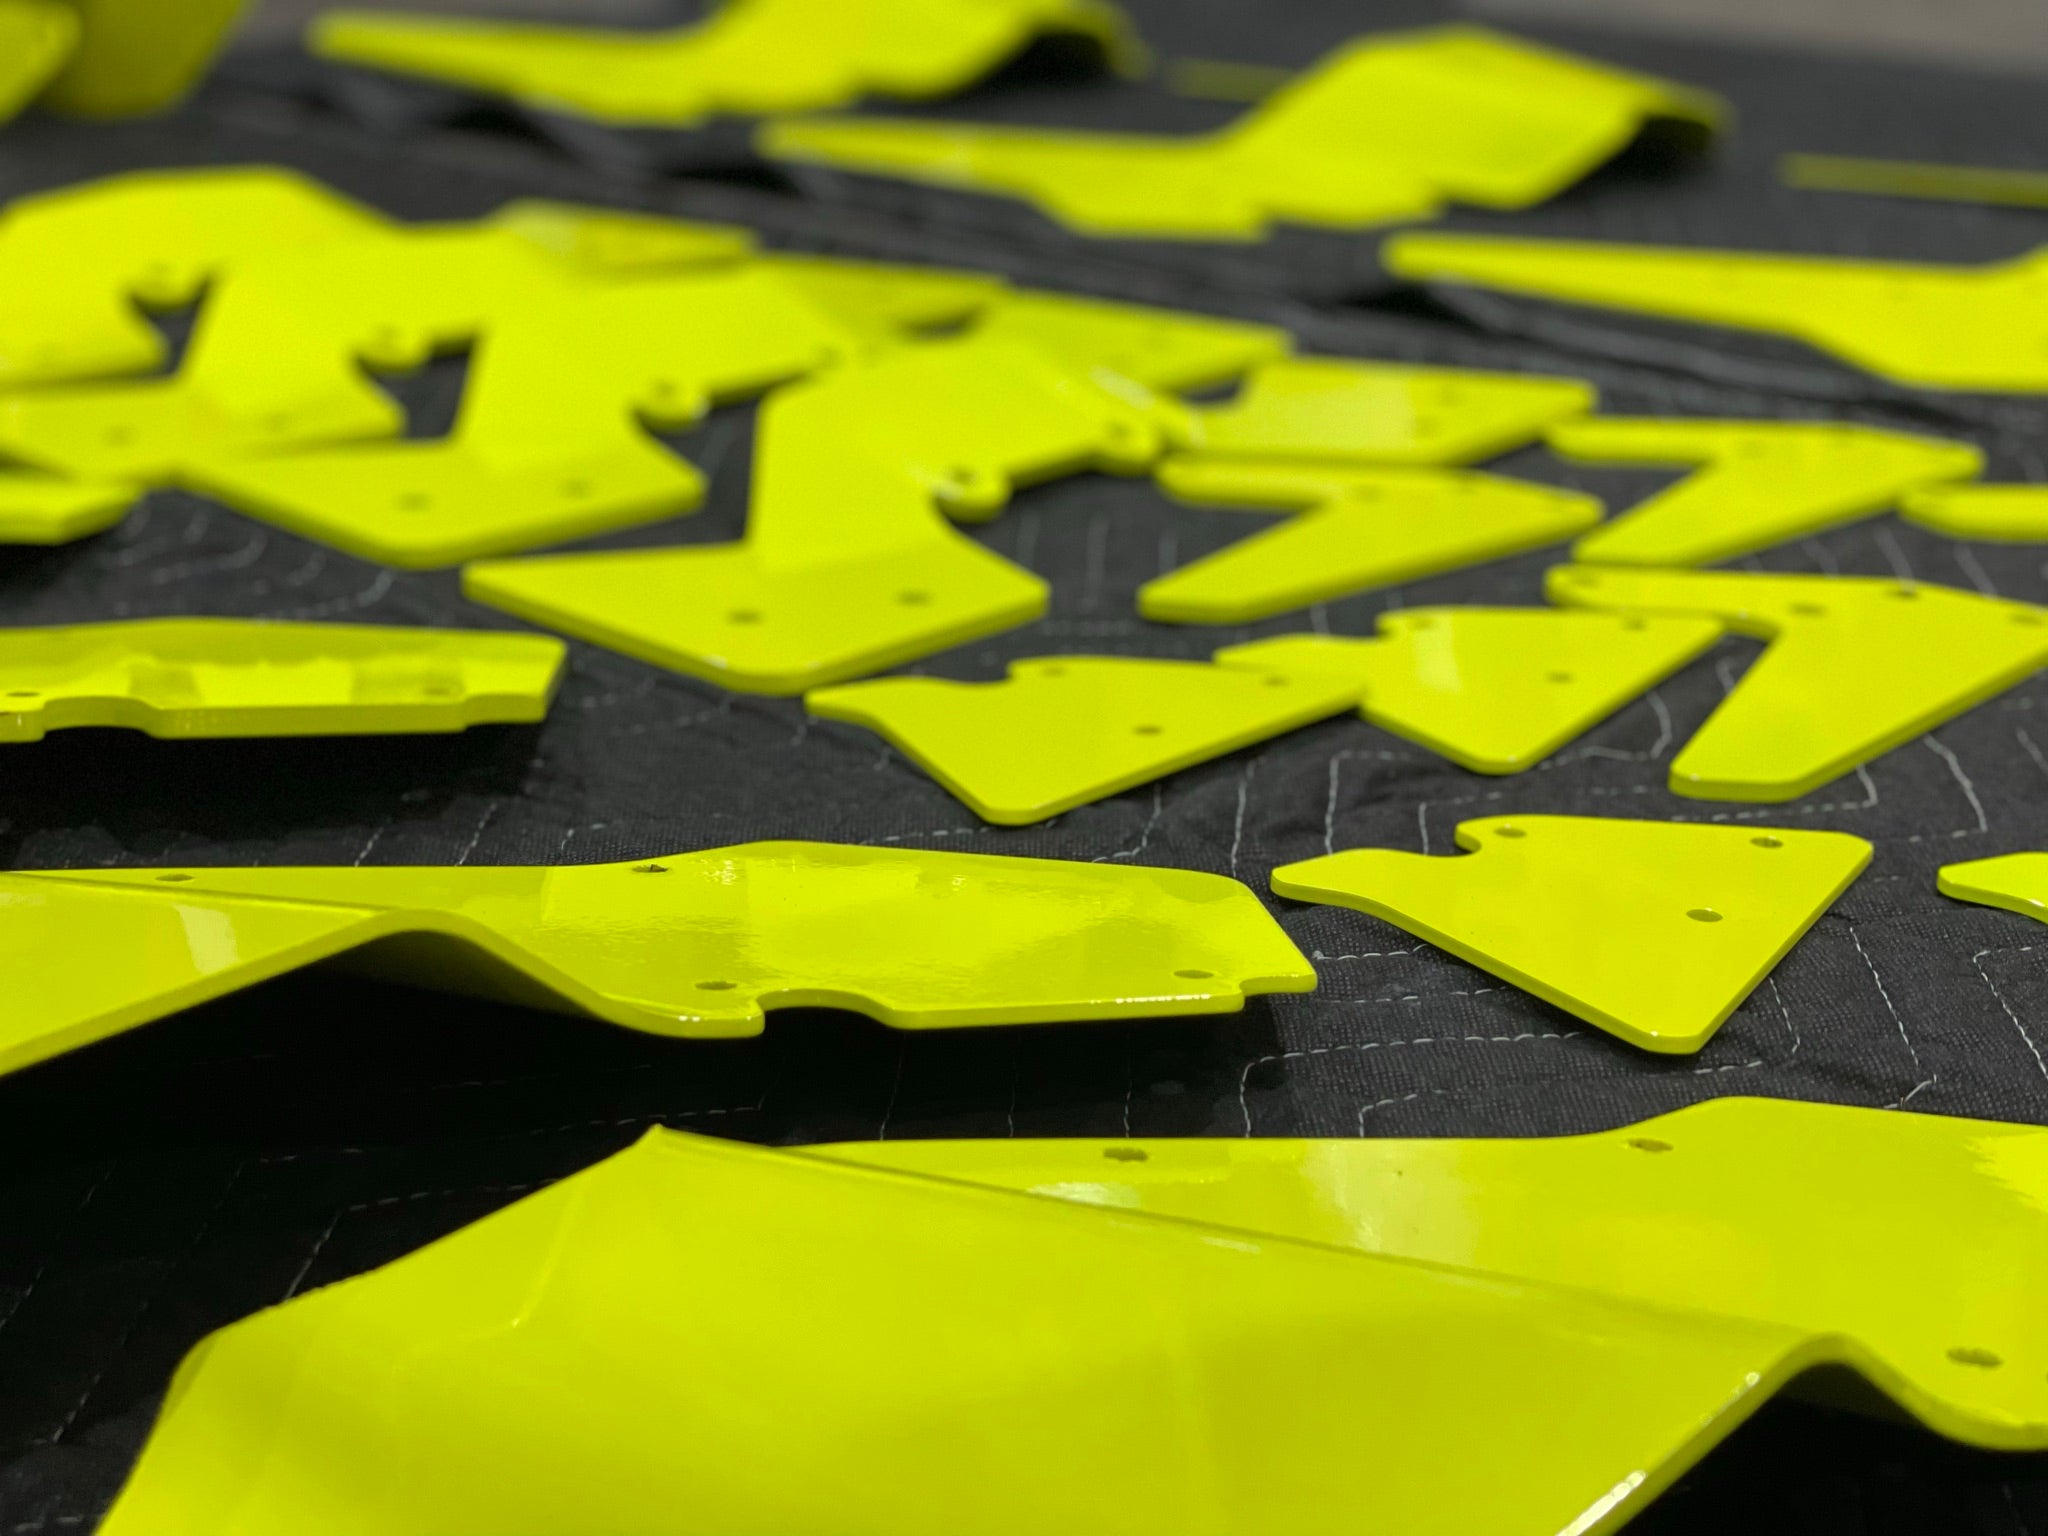
For Season 6 we continued to use a strong base for the top armor, but since we have eliminated the srimech, there’s no need for a massive hole in the top. We used some mild bends in the top plate for the improved geometric strength. The aesthetic pieces are bolted to that plate. To reduce fastener protrusion into the chassis, much of the top armor is held on with countersunk screws going up through the top plate with 12 point nuts holding the panels on. We kept some of the geometry from Season 5 to protect the side armor screws again as well as to keep the “Y” shaped front panel we’d been using since Season 4 for the srimech arm. Directly over the batteries, HyperShock has a hump formed by the aesthetic panels. The air pocket underneath is to help protect the weapon ESCs and batteries from strikes to the top plate. The smaller plates in the back are also helpful in absorbing impacts, but mostly just serve to thicken the top armor. We had the main panels as well as all of the aesthetic panels made from AR500, aluminum, and titanium so we could mix and match when making adjustments to the weight.

[S6 open top]
The forward-most armor panel is always a second layer over the mount and cover for the weapon motors. We insert the weapon motor mount from the top and bolt it to this top cover. The top armor then has a second plate to protect this cover and its screws. We had both a solid and skeletonized version of this mount and cover as a further option in our weight management scheme. On either side of the chassis, we have cutouts to allow the drive jackshafts to be inserted from the top. As you can see in the back of the picture, the jackshaft is separated from the main compartment inside the robot. We intended to minimize the length of any open section. We’d been trying to create a dividing wall between the battery box and the drive motors, but it was going to pose challenges to the wiring as well as increasing the length and weight of the chassis. The open section at the top is as tight to the components as we could manage. As a result, the battery box and drive motors have to be inserted with some finesse because they don’t just drop straight in.

[Season 6 partially built]
Side Armor
While exposed wheels are a hotly debated topic, there’s pretty unequivocal agreement that chains, belts, and gears should be protected. We’ve styled our belt and chain covers after the side scoops seen on many rear and mid-engine cars. They’ve usually been a two-piece design since Season 3 with one armor panel and a pretty cover on top. Like the top armor, we will have an aluminum and AR500 set of chain guards. In Seasons 3 we often ran into weight issues and had to ditch the pretty cover piece. The two-piece design does a good job of filling the open space between the wheels making it difficult for our opponents to get to the chassis. We’ve relied on the adage “air is the best armor” when designing the chain guards. While losing a side of drive can be devastating, we’d still rather that than let our opponents get to the guts of the robot.

[Season 6 bottom of chassis visible]
Chassis, Back, and Bottom
We’ve changed how we do the back armor each season. In Season 3, HyperShock had a double-walled, skeletonized frame with an AR500 plate bolted to it, which wasn’t much of a departure from the armor we’d used the first two seasons. For Season 4, we had a removable, titanium “butt taco” covering the drive motors that more or less hung off the back of the chassis. Seasons 5 and 6 we decided that since we hadn’t been hit in the back unless the robot was already dead, we should be fine with making the back armor an integral part of the chassis and out of just a single thickness sheet of the same material. In season 5, the switches were accessible through small holes in the back armor. It was somewhat annoying to turn the robot on and off. Since putting your face behind the robot while turning it on is a terrible idea, the switch had to be located by feel. It wasn’t great and briefly created a situation where it was possible to short the switches together.

[season 6 top, switch cover visible]
For season 6 we rotated the switches so they could be accessed through the top plate and positioned them fairly close to the top so it would be harder to miss when inserting the key. We drastically reduced the number and complexity of the bends in the chassis to improve its alignment post-welding. We also nearly eliminated elements made of separate materials that had to be aligned during welding. This is mostly accomplished by using contiguous pieces when we need parallelism and soft-mounting for the places where a contiguous piece isn’t an option.

[season 6 showing diffuser]
HyperShock's bottom armor has usually been a piece of titanium that has changed in thickness and coverage each season. In Seasons 3 and 4, the chassis was skeletonized on the bottom and we attached a sheet of titanium. This required button-head fasteners on the bottom of the robot. Fortunately, they never had to come off, but the screw heads were fully clogged with bits of rubber from the tires. In Season 5, we again used a titanium sheet to skin the bottom, but all the guts were mounted on a removable subframe with the ESCs in the bottom, so we upped the thickness that year. The bottom armor was titanium because it was light, but also because the Killsaws are titanium. The easiest way to make the underside of the robot Killsaw-resistant is to make them out of titanium. Since we hadn’t designed our chassis when the shelf was revealed to builders, we started thinking about how having hardware on the underside may become a catch point when trying to drive off the shelf. We decided we would keep the bottom of the robot smooth to help avoid that, which meant the chassis would now be an uninterrupted sheet of AR500 on the bottom. The one concession we made was to add an armor piece at the bottom of the back of the robot so if a vert did hit us from behind, it shouldn’t tear the chassis open. We modeled that armor after a diffuser and placed it such that it shouldn’t become a problem when trying to drive off the shelf.
Share:
Power Distribution | Putting the Shock in HyperShock
Motors Modules | Motors, Encoders and Bear(ings)! OH MY!